Gluten Free and super yummy – you wouldn’t even know! Meant to be the centerpiece of your tastiest appetizer plates though it makes a perfect base for your favorite gourmet sandwich. Or just dip it olive or truffle oil and a dash of sea salt, or with your favorite cheeses (vegan or not). Or maybe, like me, you spread a base layer of hot pepper jelly, plus a marinated artichoke and some seriously sharp, crystallized, aged cheddar. Okay, okay. Let me give you the ingredients list and assembly process and then I’ll talk a little about substitutions and some notes on the less common ingredients. Speaking of substitutions, I use a Dutch Oven to bake this amazing bread but I also included notes on some alternative methods that you can try if you don’t have one. Let’s go!
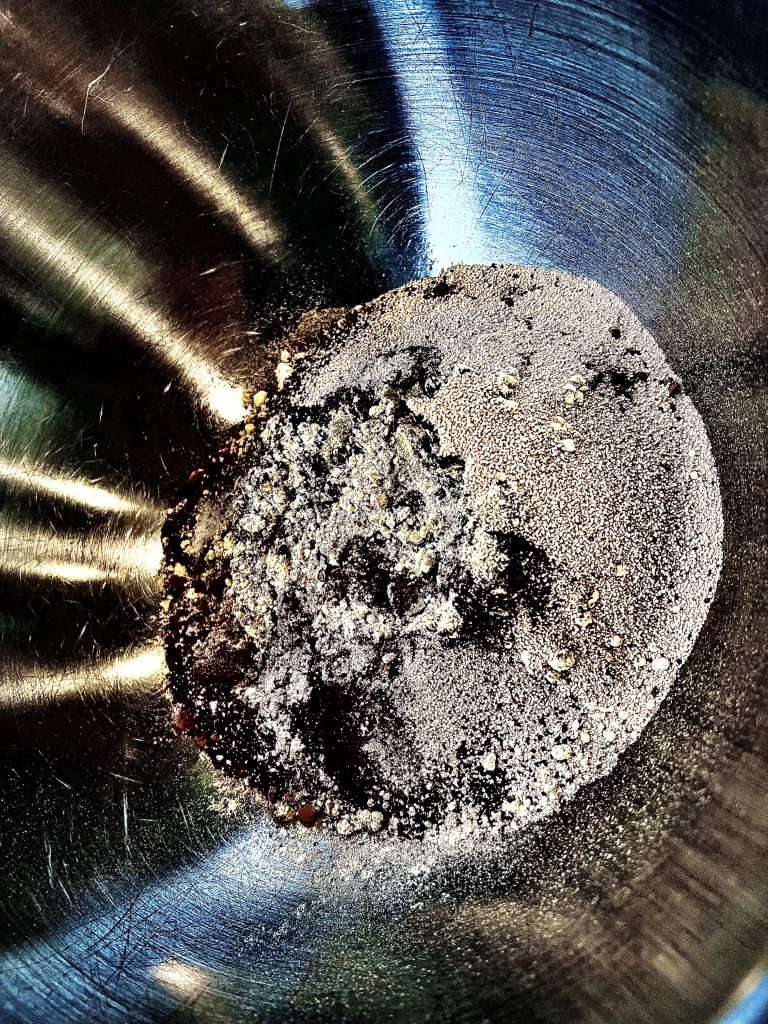
Ingredients
3/4 cup buckwheat flour, gluten free
1/2 cup garbanzo bean flour
1/4 cup ground flax seed
1/4 cup cocoa powder, the darker the better!
3/4 cup sweet potato or potato starch (whichever you prefer)
3 1/2 teaspoons of active dry yeast
1 tablespoons of dark roast instant coffee
1 tablespoon dark brown sugar (can sub light brown or refined sugar)
1 1/4 teaspoons salt
1 2/3 warm water (about 70°)
1/3 cup of psyllium husk, whole flakes (powder form works too)
1/2 teaspoon of malted vinegar (red wine or apple cider vinegar work as well)
Assembly
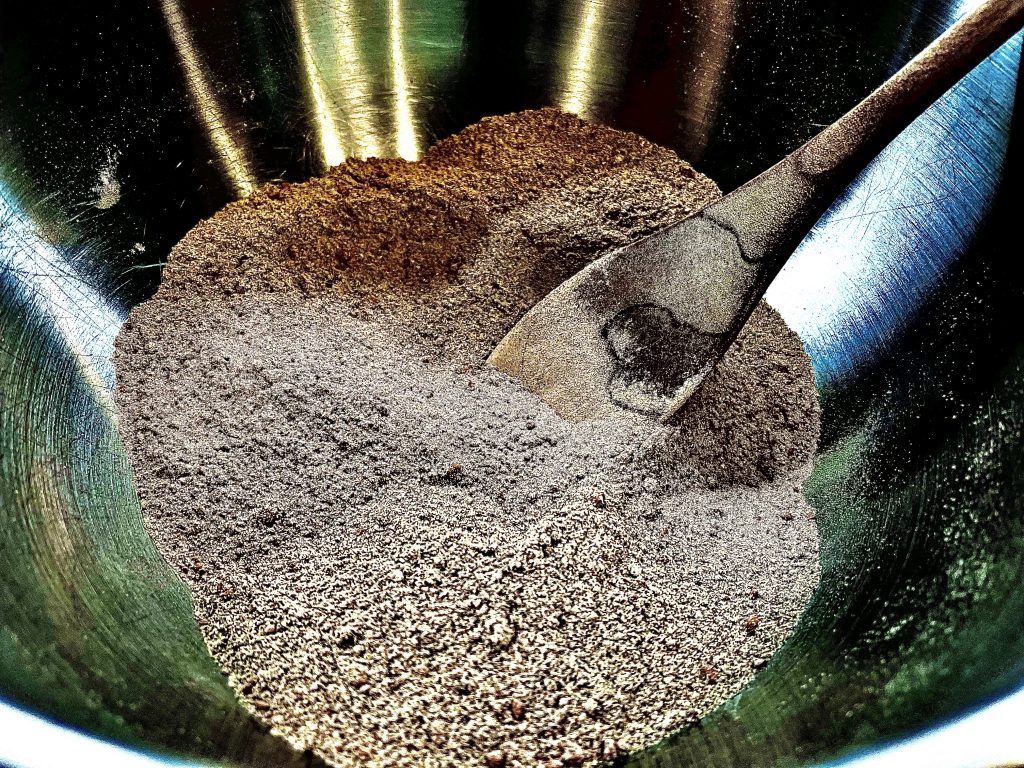
First, in a large mixing bowl, combine the flax seed, garbanzo and buckwheat flours with the salt, potato starch, sugar and dry yeast with a mixing spoon or spatula.
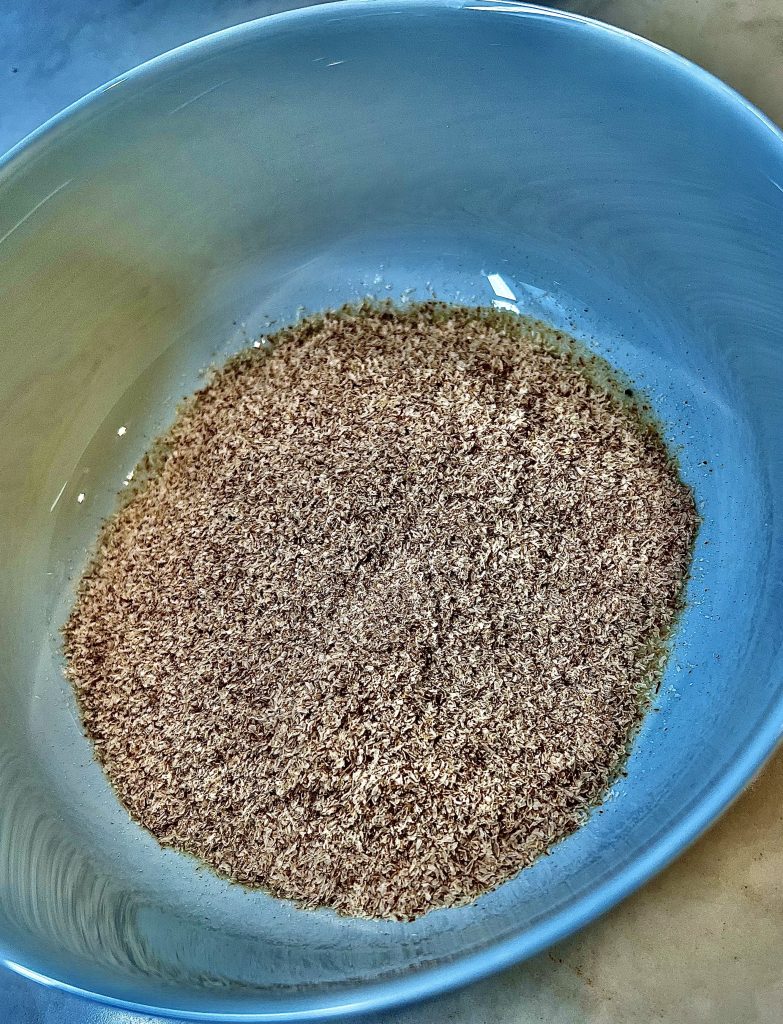
In a separate small mixing bowl, measure out the 1/3 cup of psyllium husk and add the warm water and vinegar, mixing everything with a fork or spoon until just combined.
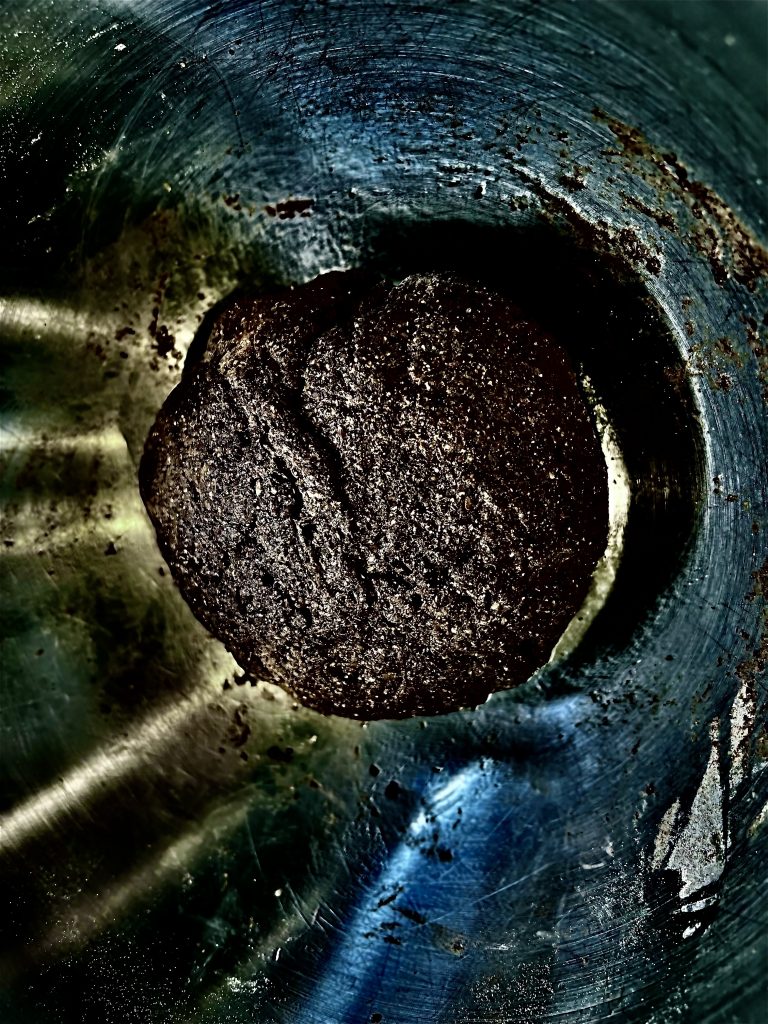
Add it to the dry flour-flax-salt-yeast mixture in the large bowl and combine everything into a smooth and consistent dough, kneading for 5-10 minutes in the bowl itself. Add a light coat of olive or vegetable oil to your hands or a light dusting of flour to keep the dough from sticking too much to them. You can also use a spatula or a wooden spoon too knead the dough.
Form the dough into a nice rounded ball and cover it in the bowl with a tea towel or other dry cloth over the top of the bowl. You can use plastic wrap instead or in addition to the tea towel for a tighter seal. Stow the covered bowl in a nice warm draft free spot in your kitchen for about an hour. I usually store my bread doughs in my microwave – just don’t accidentally turn it on!
Once risen to about double its original size, after about an hour or so, transfer the dough to a clean, lightly floured surface (either using the garbanzo or the buckwheat flour) and flatten it. Let stand flattened for about 2-3 minutes. Lightly sprinkle buckwheat flour on the exposed side and then roll the dough into a smooth ball working it into the shape you desire. I usually form it into a round but you can certainly form it into a loaf.
Keeping the seam side down, gently lift your now formed dough back to the bowl and cover as before for another hour for the second rise.
After about 15 minutes, pre-heat your oven to 480º with your Dutch Oven covered and on the center rack.
Once your gluten free bread finishes proofing and just about doubles in size, carefully pull your Dutch Oven out of the oven with pot holders, dust the bottom of it with buckwheat. The pan is going to be really hot so be careful! I place my Dutch Oven on top of my stove or on a trivet but never directly on my stone counter!
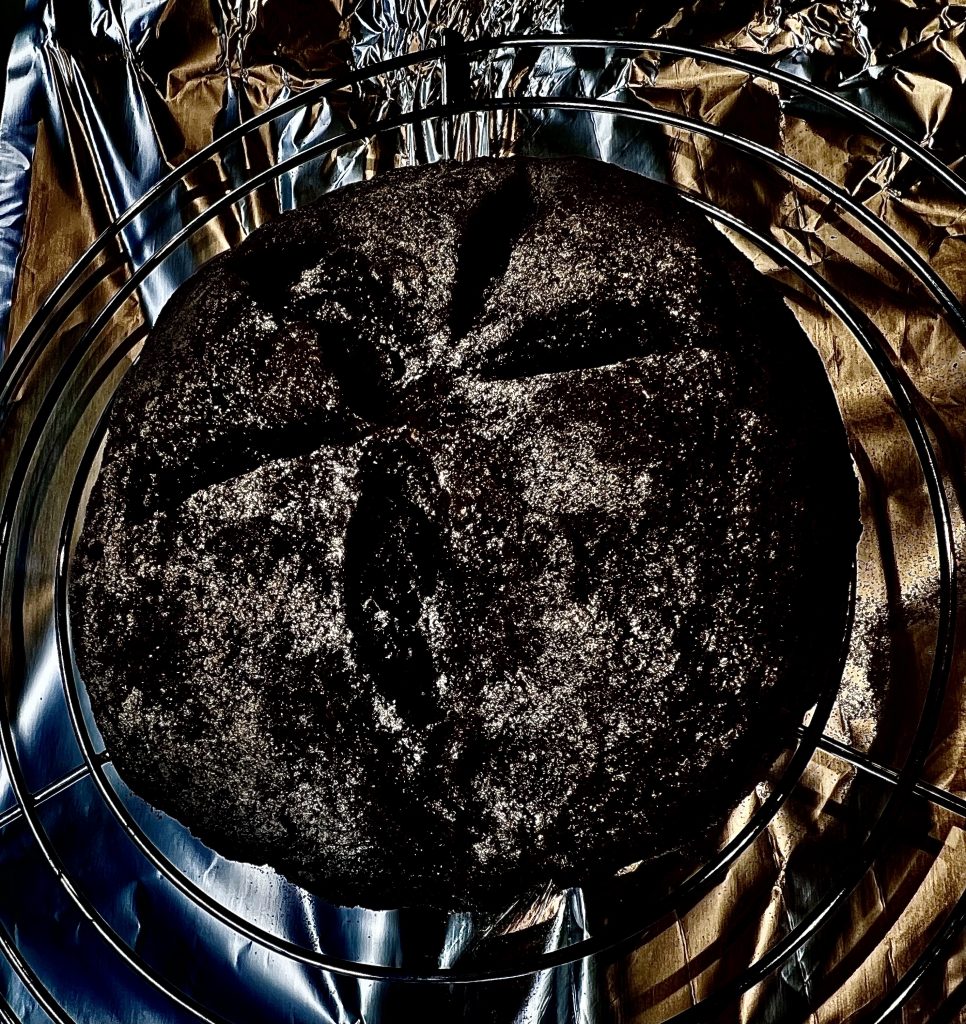
Next, place your shaped dough into the pan, score the top of it with a sharp knife and cover. Bake it covered on 480º for 30 minutes. Then take the cover off of the Dutch Oven and bake at the same temp for another 20 minutes until it cracks at the top along the score lines you created. Tapping the bottom of your baked bread should yield a beautifully hollow sound.
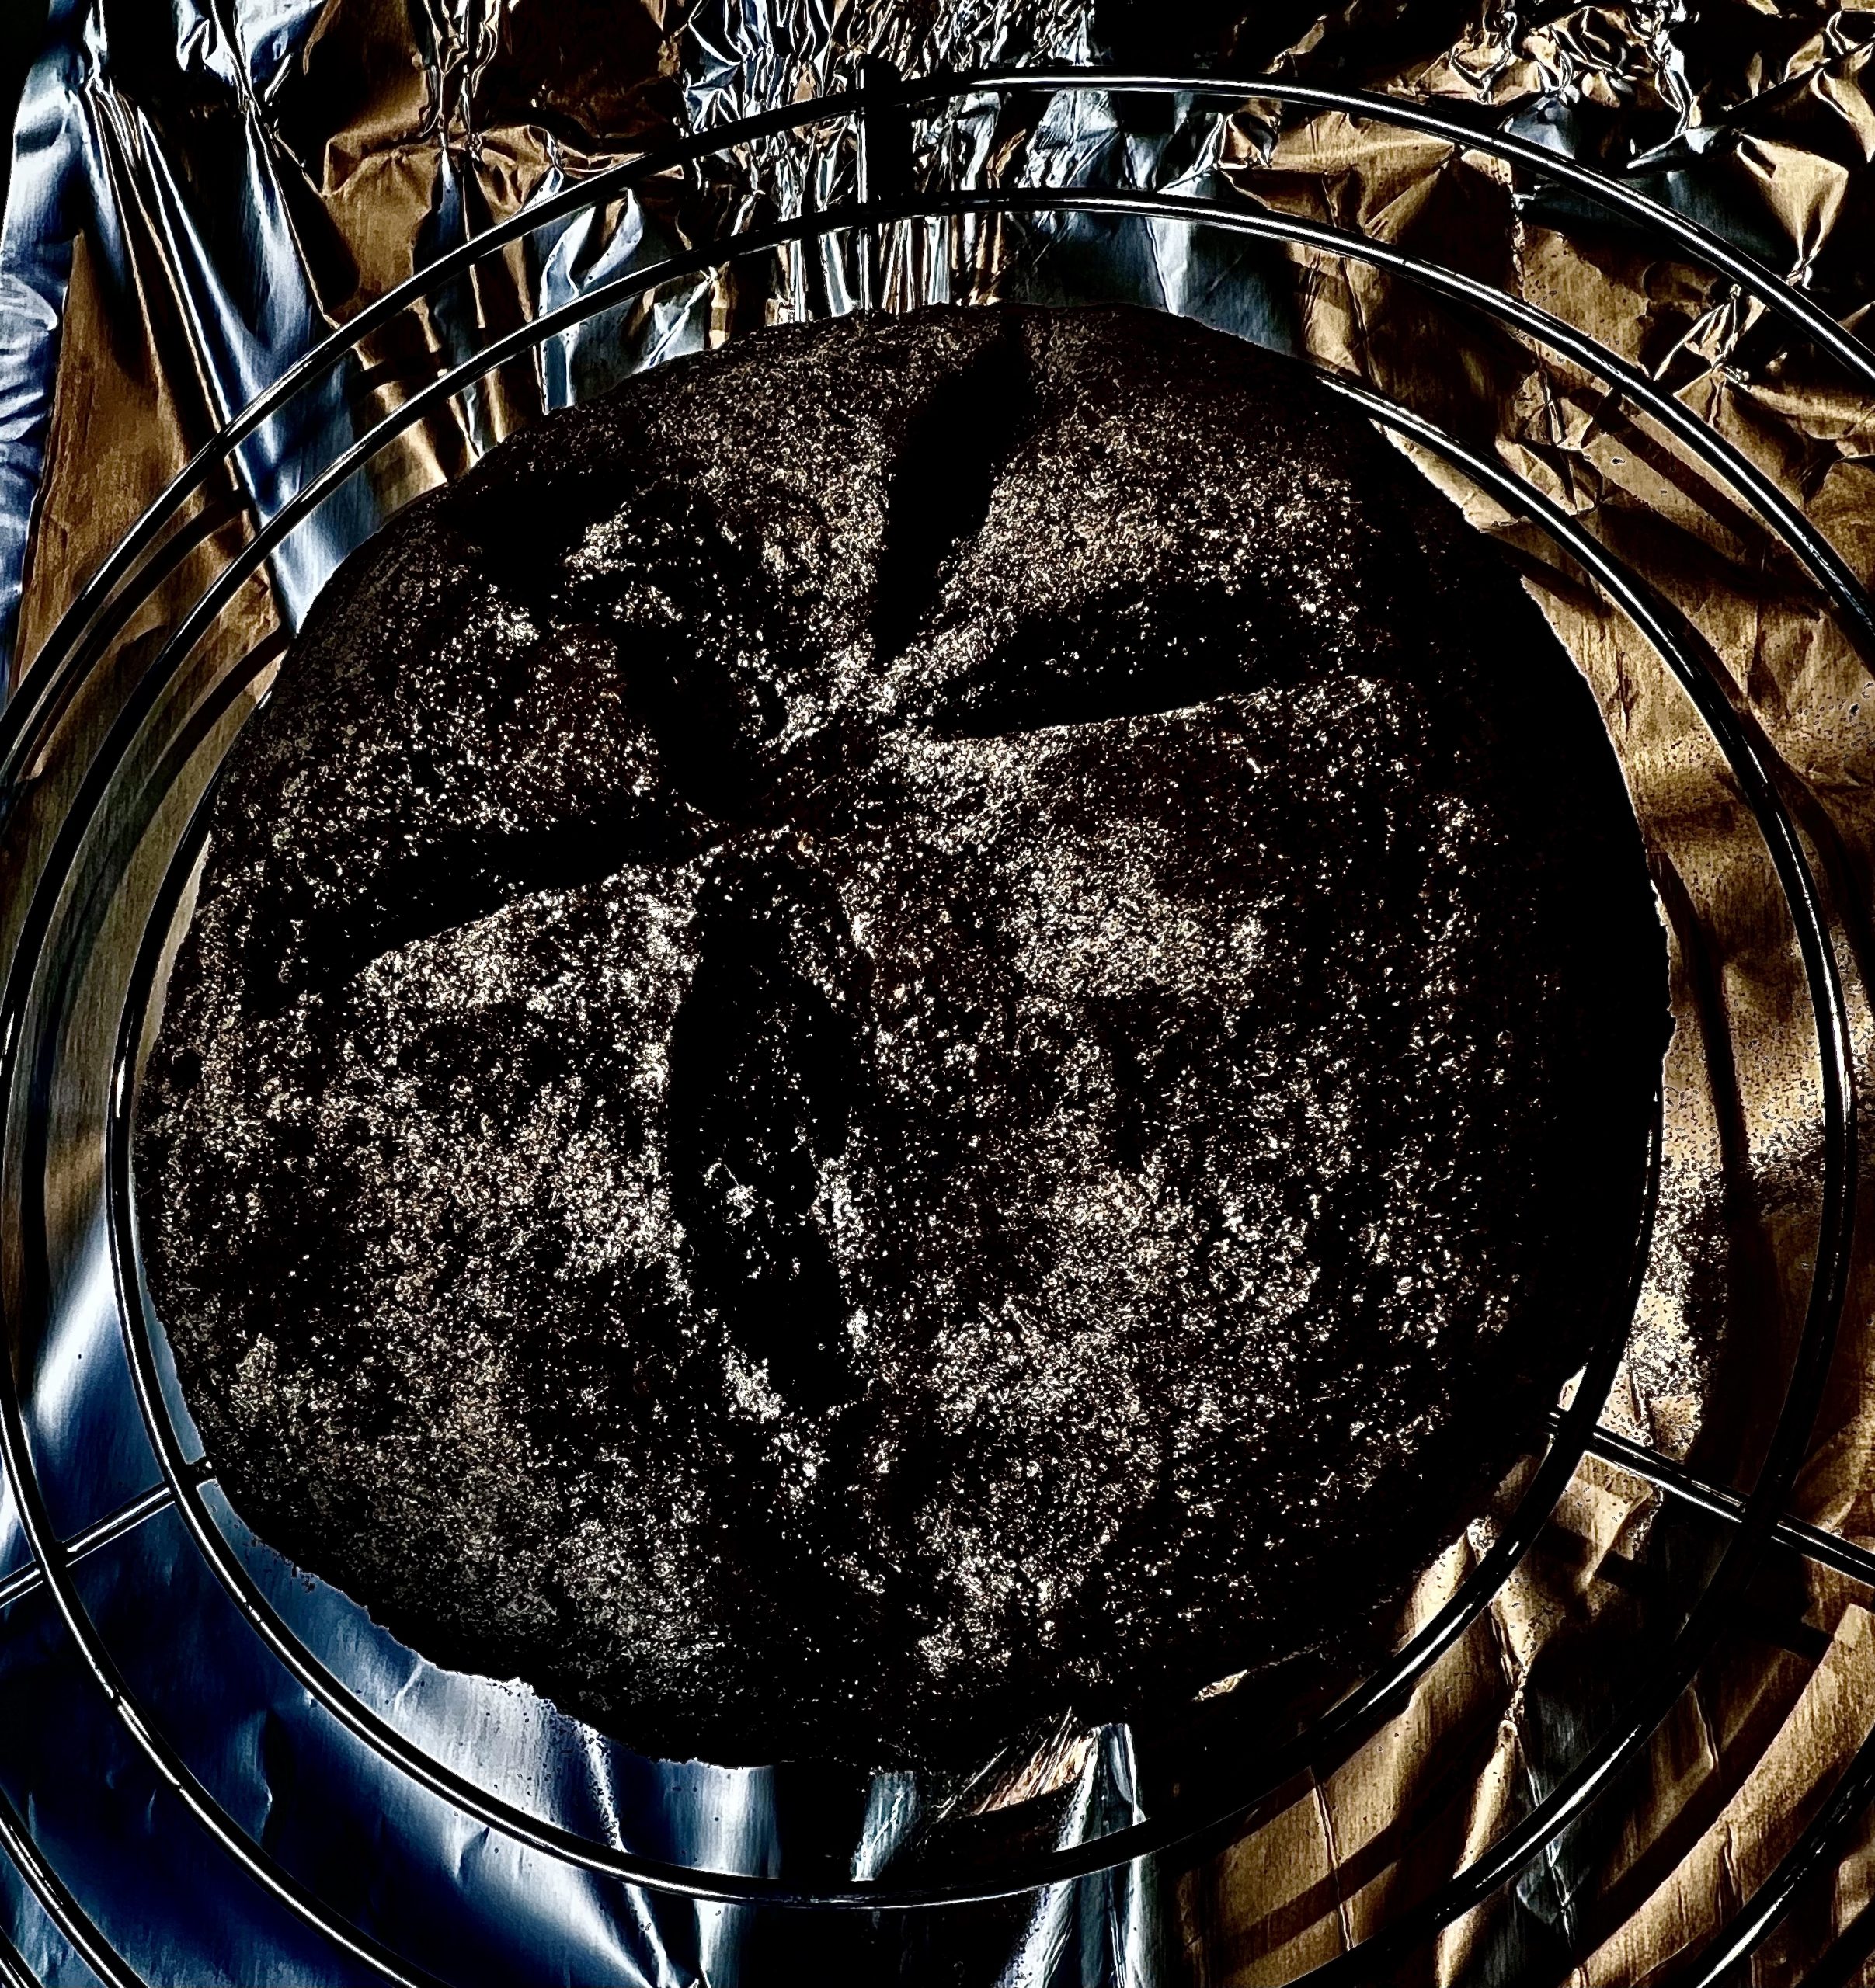
Carefully lift the bread out of the Dutch Oven and onto a cooling rack – I use a spatula to help me pull the loaf out without burning myself. Let it sit on the cooling rack for 45-60 minutes to finish cooking and cooling to that perfect crumb. That’s it!
Final Notes
You can experiment with the flour combinations and proportions to perfect the taste that pleases you the most. Experimenting is the best part of baking! Just be sure your total amount of flour is equal to 1 and 3/4 cups (including any use of cocoa powder).
A note on buckwheat flour. Make sure the brand you buy denotes that it’s gluten free. Buckwheat, despite the sound of its name, is naturally without gluten. However, some brands mill their buckwheat on the same equipment they use for wheat products. Make sure the package clearly states it’s gluten free. Many brands carry both versions. So be careful!
For a sweeter bread, halve the use of instant coffee and add a teaspoon of honey or agave nectar to the mix. And of course, feel free to add caraway seeds for the classic pumpernickel.
If you don’t have a Dutch Oven, you can use a thin baking tray or a loaf pan instead. Just reduce the heat to 455º and bake for a total of 55-70 minutes uncovered. Once again, you’ll know it’s done when it yields a light hollow sound upon tapping the bottom. And be careful the top doesn’t burn! Note that you will get a better crumb in a Dutch Oven because it does a better job of retaining moisture during the covered portion of the baking process.
Because our pumpernickel bread is gluten-free, it will have a slightly tighter and denser crumb than wheat-based breads. But the psyllium husk, potato starch and the yeast should act as a strong substitute for gluten. If you find your bread isn’t rising enough, try experimenting with the amount of yeast and psyllium husk and increasing them both – add an extra teaspoon of yeast and an extra tablespoon of psyllium to the water mixture. Also be careful that your water isn’t too hot or the yeast won’t activate properly.
You can also leave this dough overnight, 8-12 hours for the first rise to develop better flavor and increase the crumb springiness. If you go that route, add 1 and 1/2 tablespoons of water so the dough doesn’t dry out in the first fermentation.
Enjoy this bread! It’s dark and rich in flavor, perfect for hearty sandwiches, morning toast and a decadent accompaniment to coffee. It also makes extraordinary French toast – just don’t forget to add a healthy dose of vanilla bean to the egg mix! You’ll love it.

Luke Macomber is the founder of Cakefield, an AI enthusiast,
philosopher, television media veteran,
and a dedicated marathon runner.
“Amazon and the Amazon logo are trademarks of Amazon.com, Inc. or its affiliates.”



pv89ce